
At The Beginning There Was A Maple Tree and then... the birth of Ferno the Forno (Oven)
Oven built in 2016 (Summer)After dreaming so long of building a wood fired oven, an old maple tree sitting on the side of the ravine next to a stream fell during a windstorm. No one was hurt but a large Nanking cherry shrub was crunched. Naturally when a tree falls, it can be a sign from mother nature that a space is created for something else - the wood fired oven foundation!
After cleaning up what was left of the old shrub, I discussed the idea with a friend of mine that a nice pizza oven could be built where the cherry bush was planted. He (David) is a master carpenter and pizza lover. Without hesitation he took up the offer to help me out in this project.
Shelter and the Main Structure
Based on where you live and how well you are planning to preserve your oven, building a shelter around it is a very good idea.This is where the idea came from link. A sincere thank you to who took that picture and designed it!

Once the main frame was completed and the floor support was set, we used a mix of fire clay and sand (1 part each) and mixed it with water. See here for more details.
Fire bricks were placed on top in a very simple parallel pattern (of course a "spina di pesce" or "herringbone" pattern would have been fancier but also more time consuming, and it would have required more bricks.)
 |  |  |  |
 |  |  |  |
 |  |  |  |
The Dome – Bricks & Mortar
After checking out a bunch of websites I decided to try building a corrugated cardboard pattern and set it up as the support structure for building the dome. Would I do it again? Maybe. Would I try some other method? Yes. |  |  |  |
The mortar (refractory cement) was made carefully, following this mix.
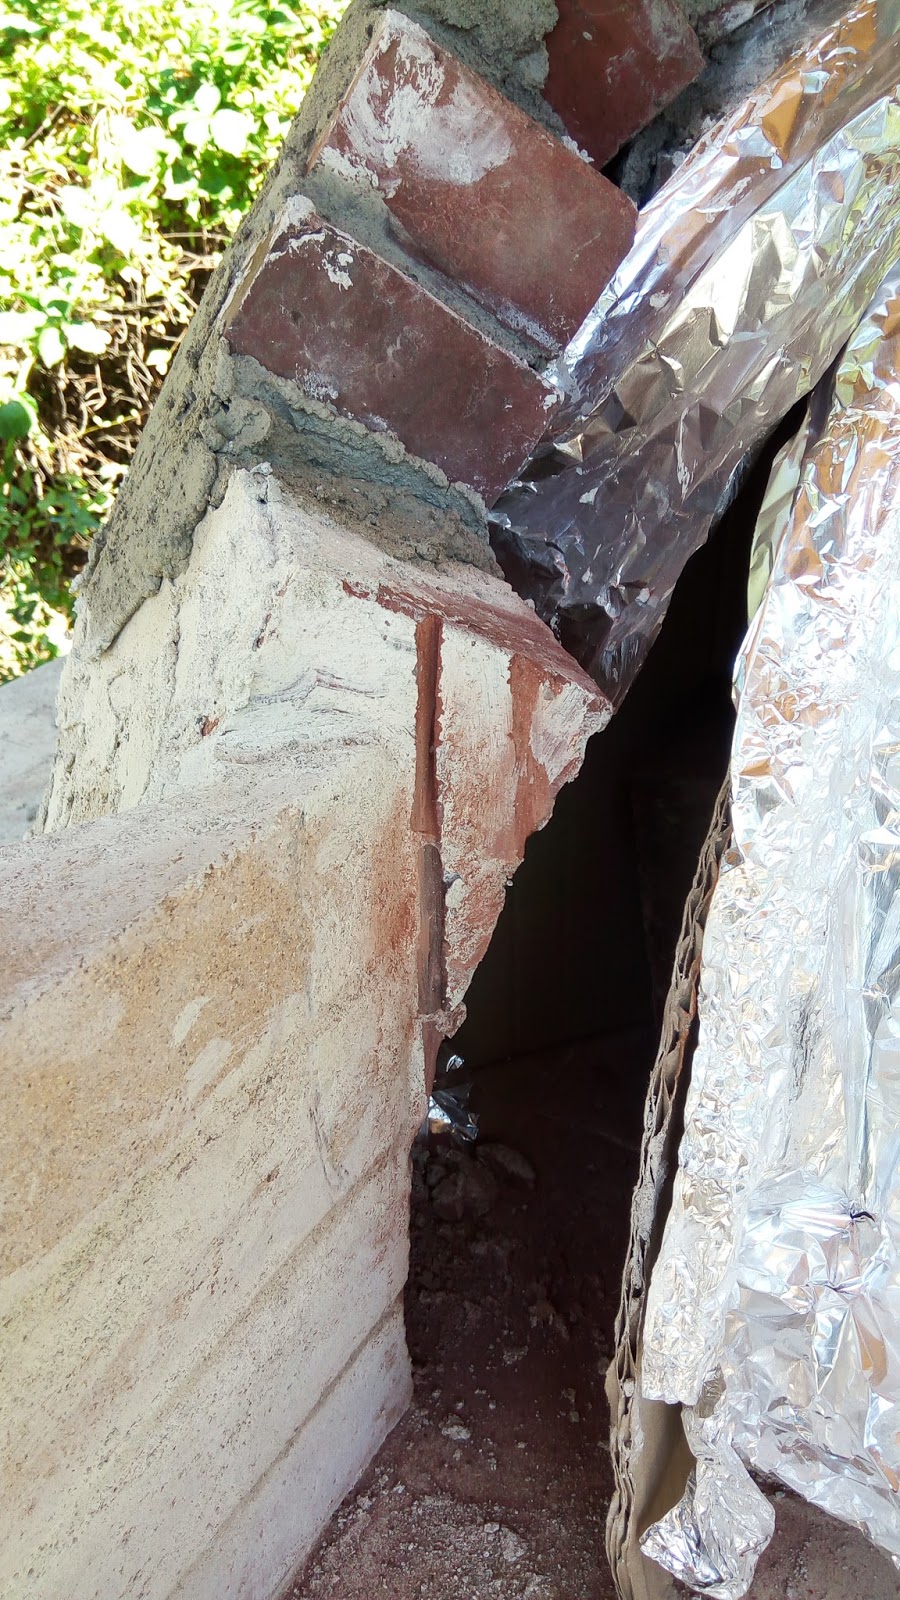
The image below gives you an idea of the process. I was generous with the mortar as I was stacking the bricks. The extra mortar functioned like plaster.
 |  |  |  |
Using Craigslist, I was able to find someone who had recently demolished a 100-year-old brick house. The bricks were in very good condition given their age. I bought about 200, knowing I’d cut many of them in half.
Ferno's Mouth
The photo below gives you an idea of the work completed and the initial start of creating the oven's mouth or opening. |  |  |  |
The Arch
It's worth sharing a few words (and images) about integrating the opening/arch into the dome. The main issue (at least for us) was the actual portion of the dome getting connected to the arch and how to support the layer of bricks next to it because there is no support underneath.We decided to use a small aluminum metal support to hold the bricks. Bricks had to be cut to set properly in the space between the arch and the front of the dome. I was hoping to come up with some other solution to hold it all together but I could not. Using aluminum wasn't a great idea, even though it seemed capable of handling high temperatures. Unfortunately, as the heat increases in your oven, the metal bar starts bending and twisting. Much better to use iron (a note for future projects — filed under "live and learn.")
 |  |  |  |
 |  |
The Top
As you get close to completing the first phase of your oven — piling and stacking brick after brick — the top is next. Each brick gets closer to the one before it, and small adjustments are needed to accommodate these final steps. |  |  |  |
 |  |  |  |
Insulation
This step is super important — the better insulated the oven, the more efficient it will be at cooking and holding a longer, more constant temperature.I followed the instructions here, first wrapping the dome in heavy aluminum foil, then adding the first insulation layer of vermiculite, cement, and lime.
I went for a solid 4 inches (10 centimeters) and if you want to have the layer thicker – I would add another couple of inches (5 centimeters).
 |  |  |  |
Cladding
This is a great definition found here:The final layer of the oven is called cladding which may either be made of concrete or bricks. Some prefer the aesthetics of a brick layout and utilize fire bricks for the internal dome. It may be finished off with a final cladding layer of regular building bricks over the top of the insulation. Not only is this less costly, but it also increases the amount of time that the oven stays consistently hot. Cladding provides the following advantages to your oven:
- It serves as an additional layer of insulation and adds to the thermal capacity.
- It cooks food faster, since cladding retains heat for longer periods.
- It slows down the drop in temperature of the oven.
- It aesthetically improves the appeal of the oven.
Living in the NW, we get a lot of rain, so cladding is a must to protect the overall structure.
 |  |  |  |
Curing the Oven
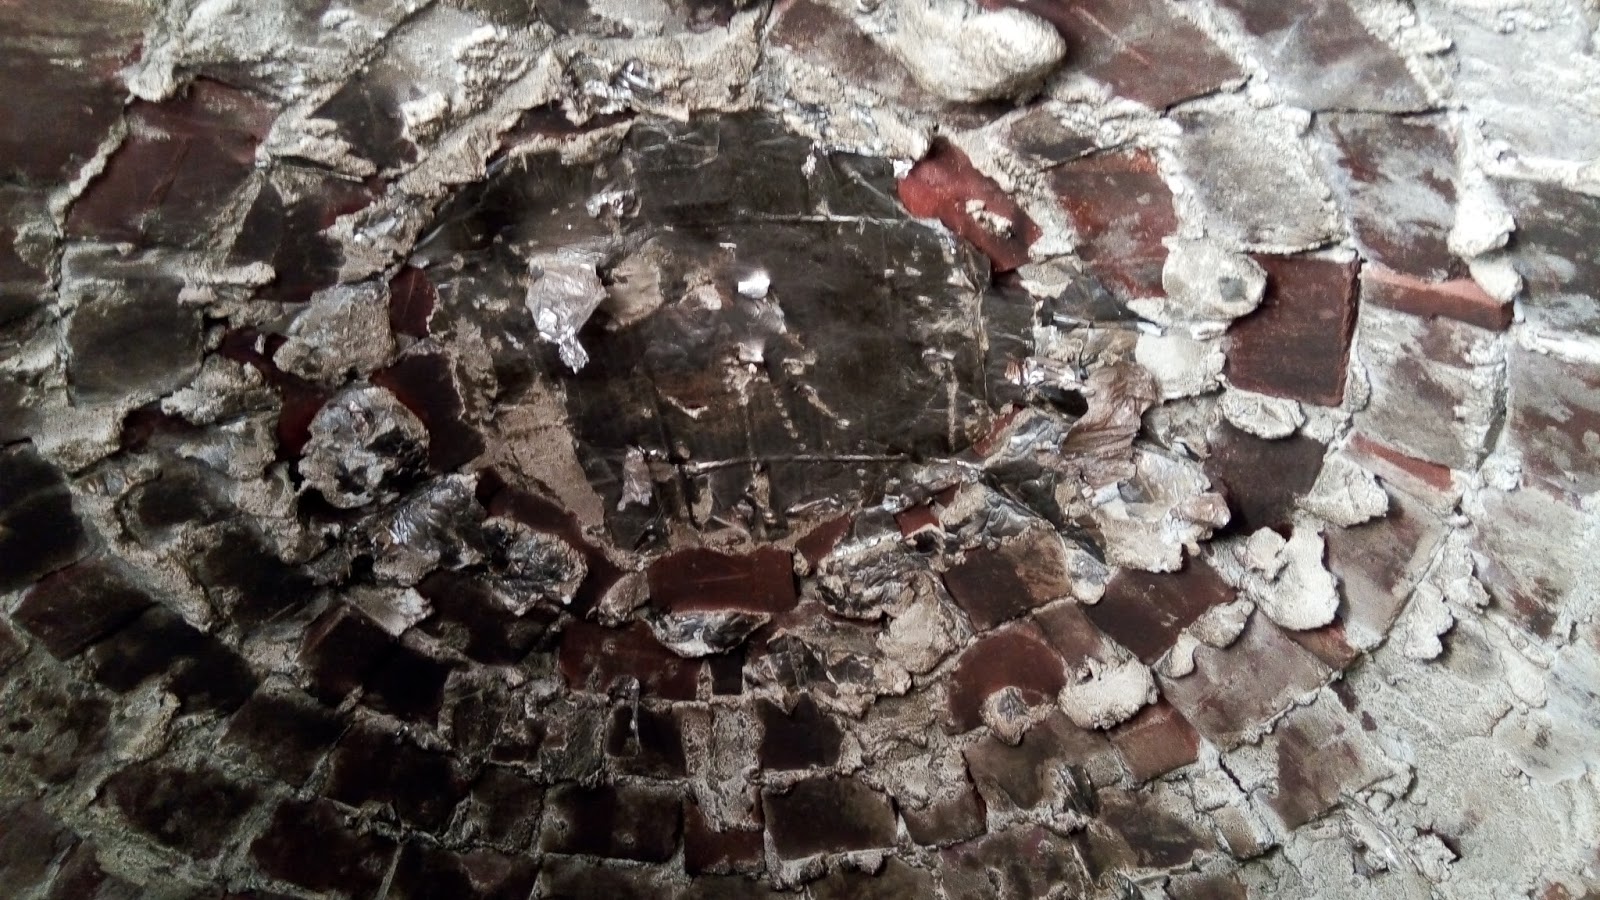
Time is your friend. The oven needs to dry, and it could take some time depending on where you live and how the weather treats you. I let it dry for 2 weeks before starting the first fire.Source of good information:
Follow these instructions for curing your pizza oven. Curing wood fired ovens is critical to your pizza oven's performance. Failure to follow these instructions can result in damage up to and including cracking the dome, severely impacting heat retention..., see link for more information.
 |  |  |  |
The Name: Ferno
The name came after the oven was well fired up and I got a feeling about it. It holds high temperatures quite well, even though such high temps are not necessary for cooking purposes. Besides being Italian and recalling Dante's Inferno, the oven gets real hot and keeps the heat for a very long time. Don't worry about the Inferno, Ferno is your friend! |

